
When we went to review ‘Build a Bear’ a few weeks ago we were lucky enough to have been given an Easter Egg decorating craft box which they were gifting to everyone who spent over £20 in store. Everyone knows Florence is a craft-aholic and as soon as she saw the kit she wanted to use it but I’m a hard Mummy and made her wait untill Easter!
Yesterday on Good Friday and this morning we finally used it to decorate some eggs which we will use as a table centre piece on Sunday and they have turned out SO nicely I just had to share our results! You could always do something similar with ordinary food colouring, glue and glitter! Mixing dye/colour in vinegar rather than water supposedly makes it stick to the eggs better FYI!
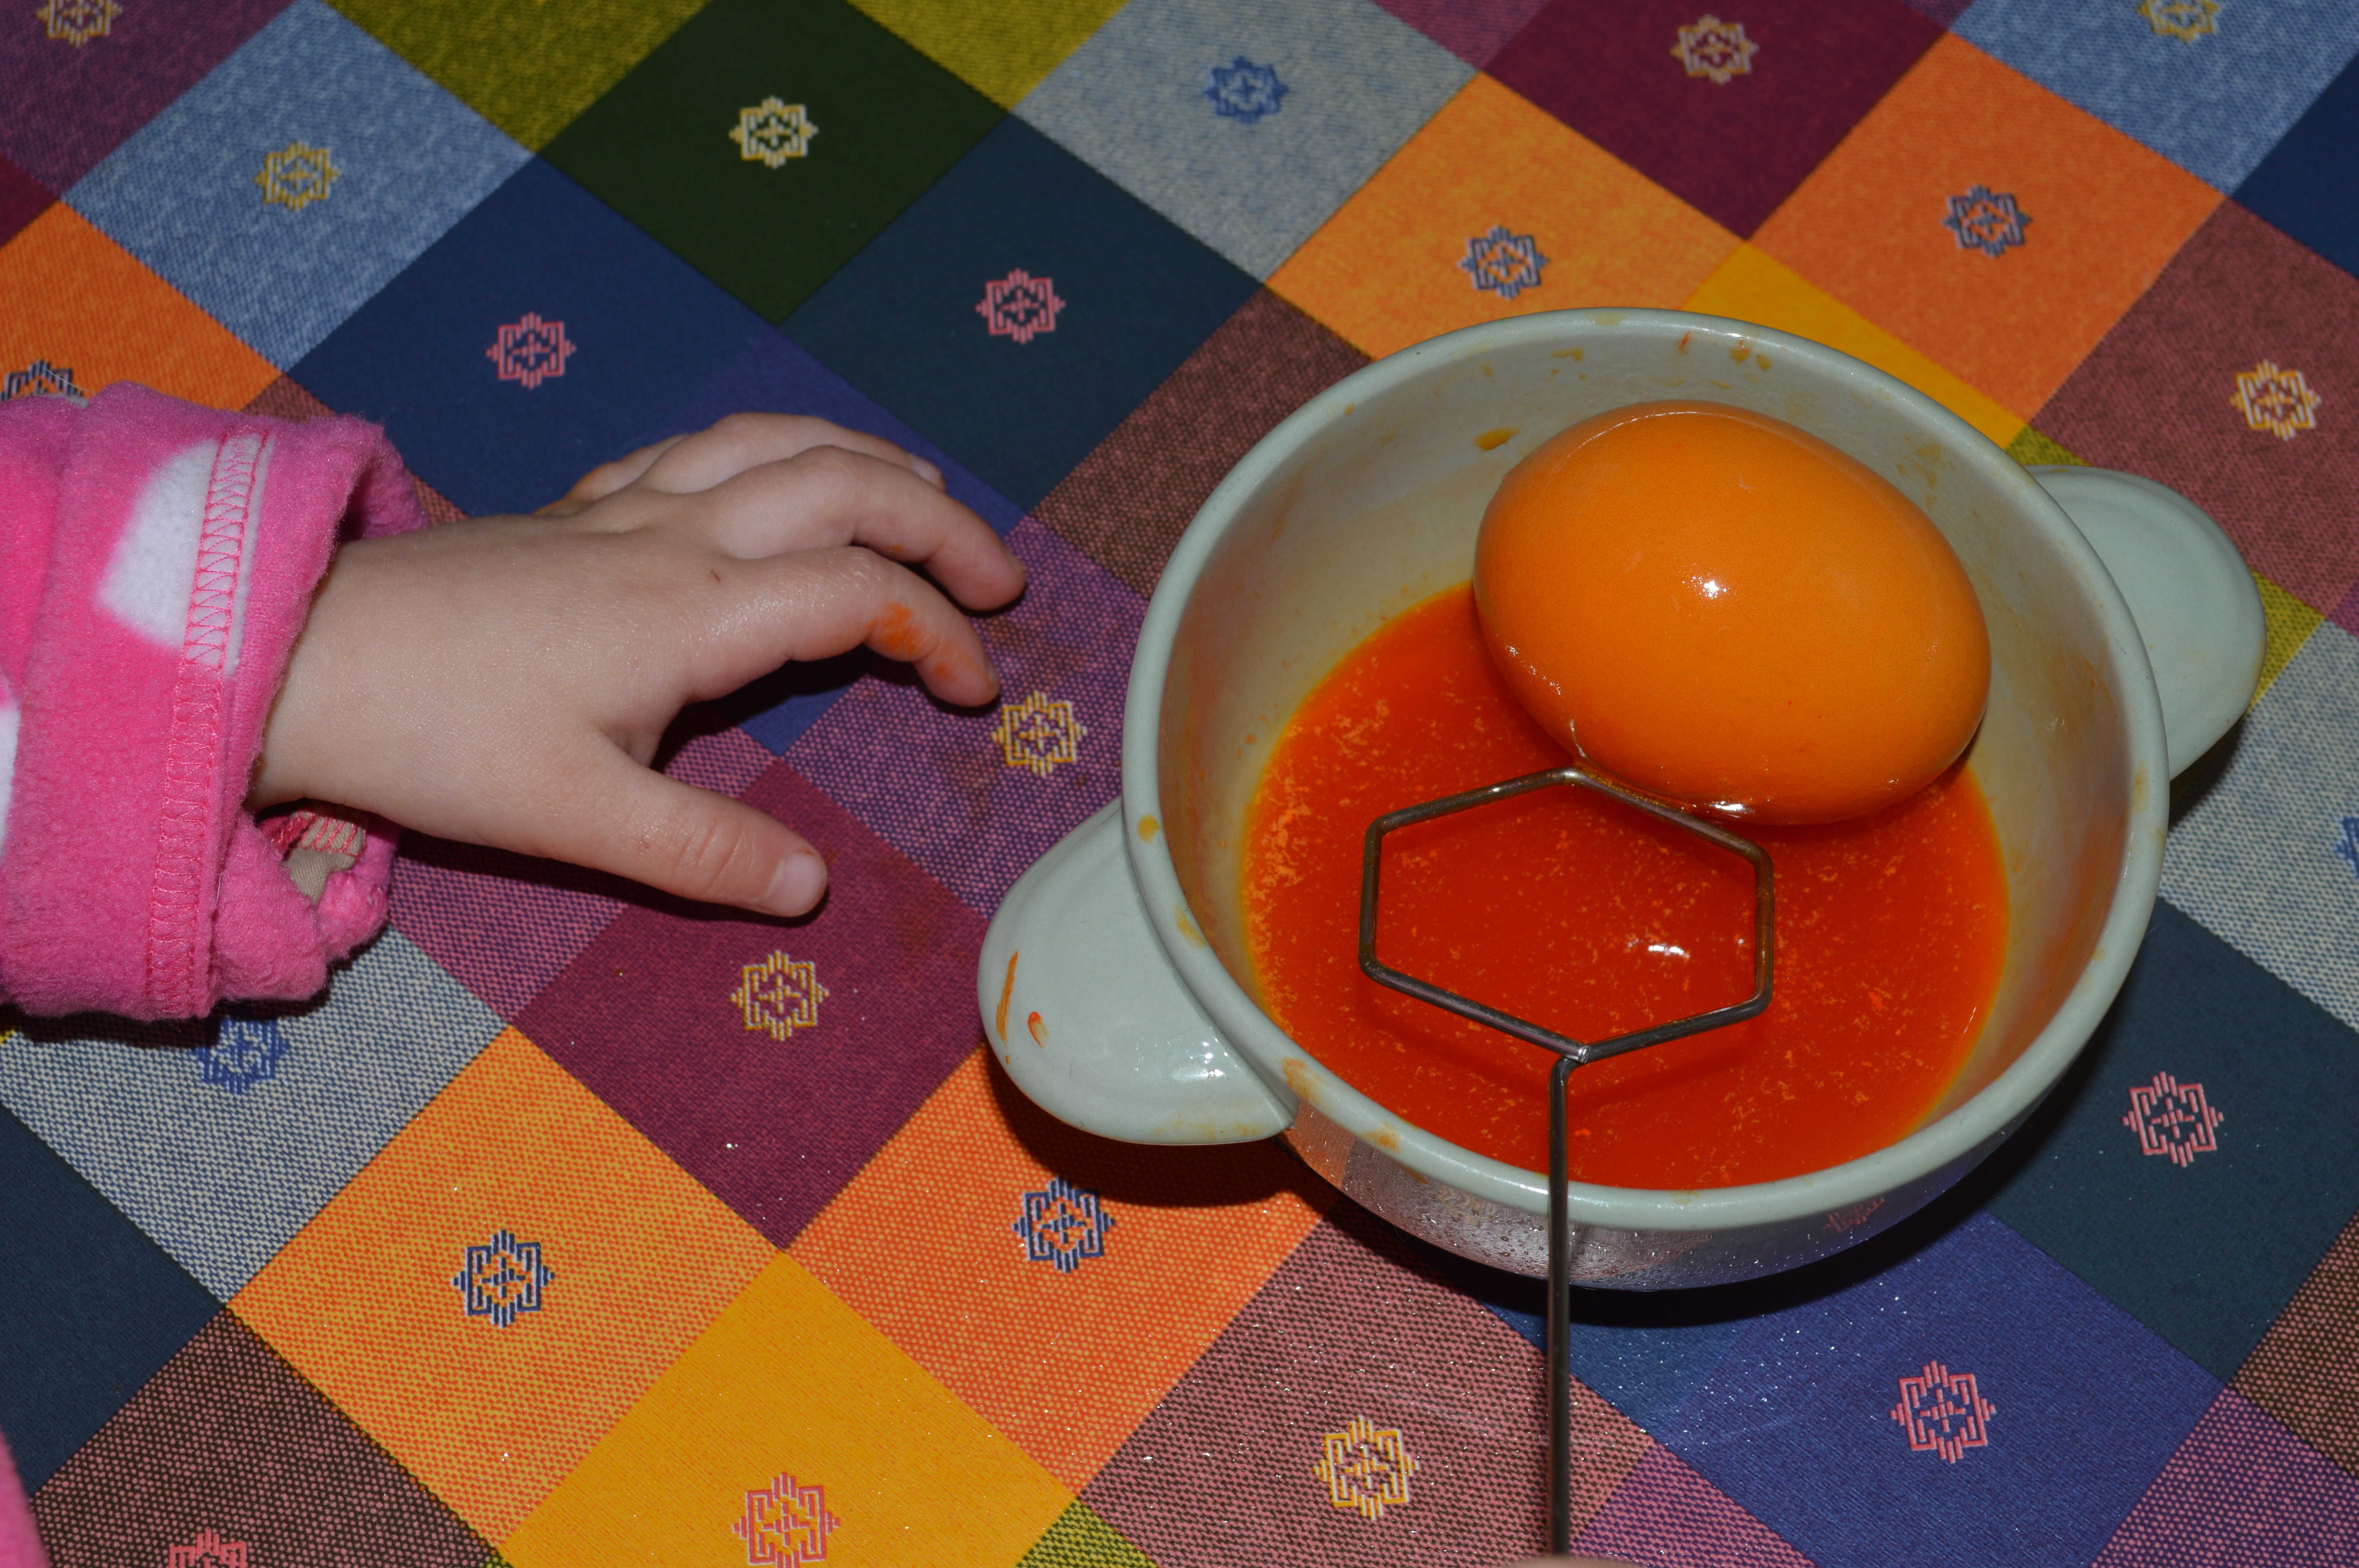
Our kit (which came with items to dye and decorate with glitter) suggested using hard boiled eggs but we thought it would be more fun to blow our eggs then we can keep them! Florence had never done that before but with a little help we made holes each end of the eggs with a pin and blew out the centres for my Mum to make a cake or something with! If you use a saftey pin it makes big enough holes and is long enough to pierce the yolk which makes it easier to blow the egg out of the shell.

We blew our eggs!
We then used two of the coloured dys from the kit and mixed them with vinegar before dipping our eggs, we left them in the dye for a long time to get a really dark colour. My Mum and I commented on how amazing the results are; the eggs really took the dye well! A good food colouring mixed with vinegar should produce similar results.


Dipping our eggs!
We then left them to dry in the kit box which was customised (as directions suggested) and then once ready we left them in the original egg box over night before moving on to the really sparkly part of the fun! I’m sure drying them in the egg box from the start would work too.


Our eggs waiting to be sparkled!
We applied double sided Easter stickers this morning. Once one side was stuck on the egg we peeled off the outside layer and applied glitter, wiped away the excess and hey presto! Glittery Easter eggs ready for our table decorations! The stickers made it easy but a good old fasioned glue stick could of course be a substitute!


Getting sparkly!

Our eggs!
Yesterday Daddy and Florence did one of our Easter craft kits from ELC, we love their simple kits which are fun and inexpensive and had previously enjoyed sewing the Easter puppets. This was another sewing one but this time to make some lovely egg warmers and we thought they’d go just perfectly with our fabulously colourful eggs! ELC very often have their kits at half price and in the run up to Easter this one, which came with everything you need, including pre-cut shapes and needle and thread, was just £1.50!

With our ELC crafty egg warmers!
We had loads of fun decorating eggs and still have four dye tablets and most of the stickers left to give it a go another time too! If you don’t have a kit and don’t want to use food coloring and glue then perhaps just blowing eggs and getting felt tips on them could be a nice way of doing something similar? I remember doing that when I was little and the eggs don’t have to be wasted if you put the mixture in a cake or make scrambled eggs!
I was not paid to write this post.
Awesome! Might try this one
Xxx
I used to love blowing eggs when I was little… My Mum hardly ever let me do it though?x